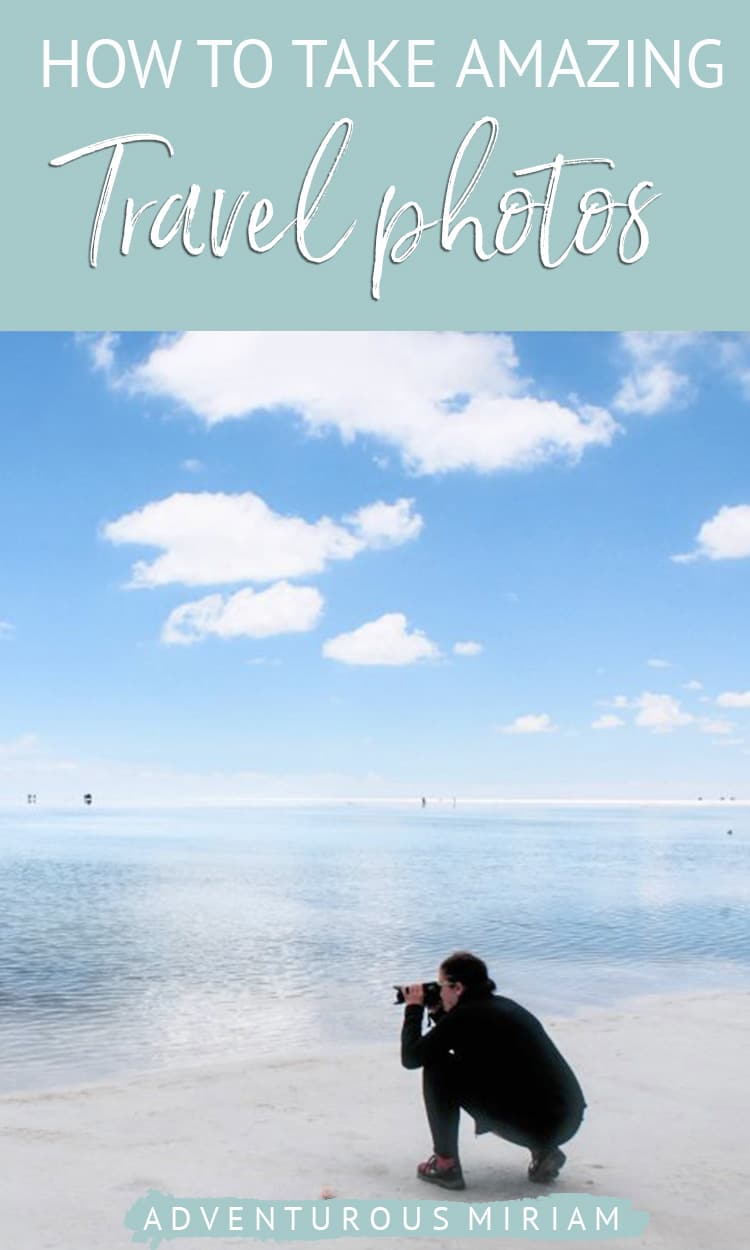
Photography basics: How to take amazing travel photos
Each place we visit has a specific look, feel and character. And we want to capture all of these qualities and show them through our travel photos. To do this, you need to know some essential photography basics. And that’s what we’re going to look at here, now.
Let’s learn some photography basics so that you can get to know the principles of photography. You’ll learn a few photography techniques and find out the difference between a DSLR and a mirrorless camera.
This post contains referral links for products I love. Adventurous Miriam earns a small commission at no extra cost to you if you purchase through my links. I appreciate your support ♡ Learn more
Photography basics for beginners
First off, we need to know the basic photography lingo. Obviously, you don’t need to know everything on this list, but a few of the terms are good to know! For instance, ISO, aperture and shutter speed – especially if you have a DSLR.
Here’s a glossary of photography terms:
Aperture
This is about how much light your camera lets in. A wide aperture (f/2) lets in more light than a small aperture (f/22). Yeah, it’s confusing: Why a low number for the maximum aperture? But I promise, it will all become clear if you can just stick with it.
Shutter speed
This is how quickly your camera takes a photo. Quick shutter speed means sharp photos. Slow shutter speed creates effects like motion blur, which you’ll need a tripod for.
Depth of field
This is what your camera keeps in focus and leads to things like background or foreground blur.
Focal length
This is about how zoomed in your camera is. The higher the number, the narrower the focus.
F-stop
Very simply, this is an alternative term for aperture. An F-stop regulates the amount of light that can pass through a lens, measured from f/2 (open/wide) to f/22 (almost closed/small).
ISO
ISO is light sensitivity. A higher ISO means a brighter image, but it also gets more blurry.
Prime lens
These are smaller, lighter lenses that cannot zoom and provide only one fixed length. They force you to move around (which is a good thing).
RAW
This is an uncompressed photo format. It takes up a lot more space on your camera, but in return gives you the highest possible quality and the best potential to edit your images (versus shooting JPEG).
Sensor
You can think of this as the digital version of analogue film.
Zoom lens
A lens that zooms! They’re bigger and heavier than prime lenses.
Lens filters
Clear discs that you can use to create manual filter effects on your photos. Like, making a waterfall look silky smooth.
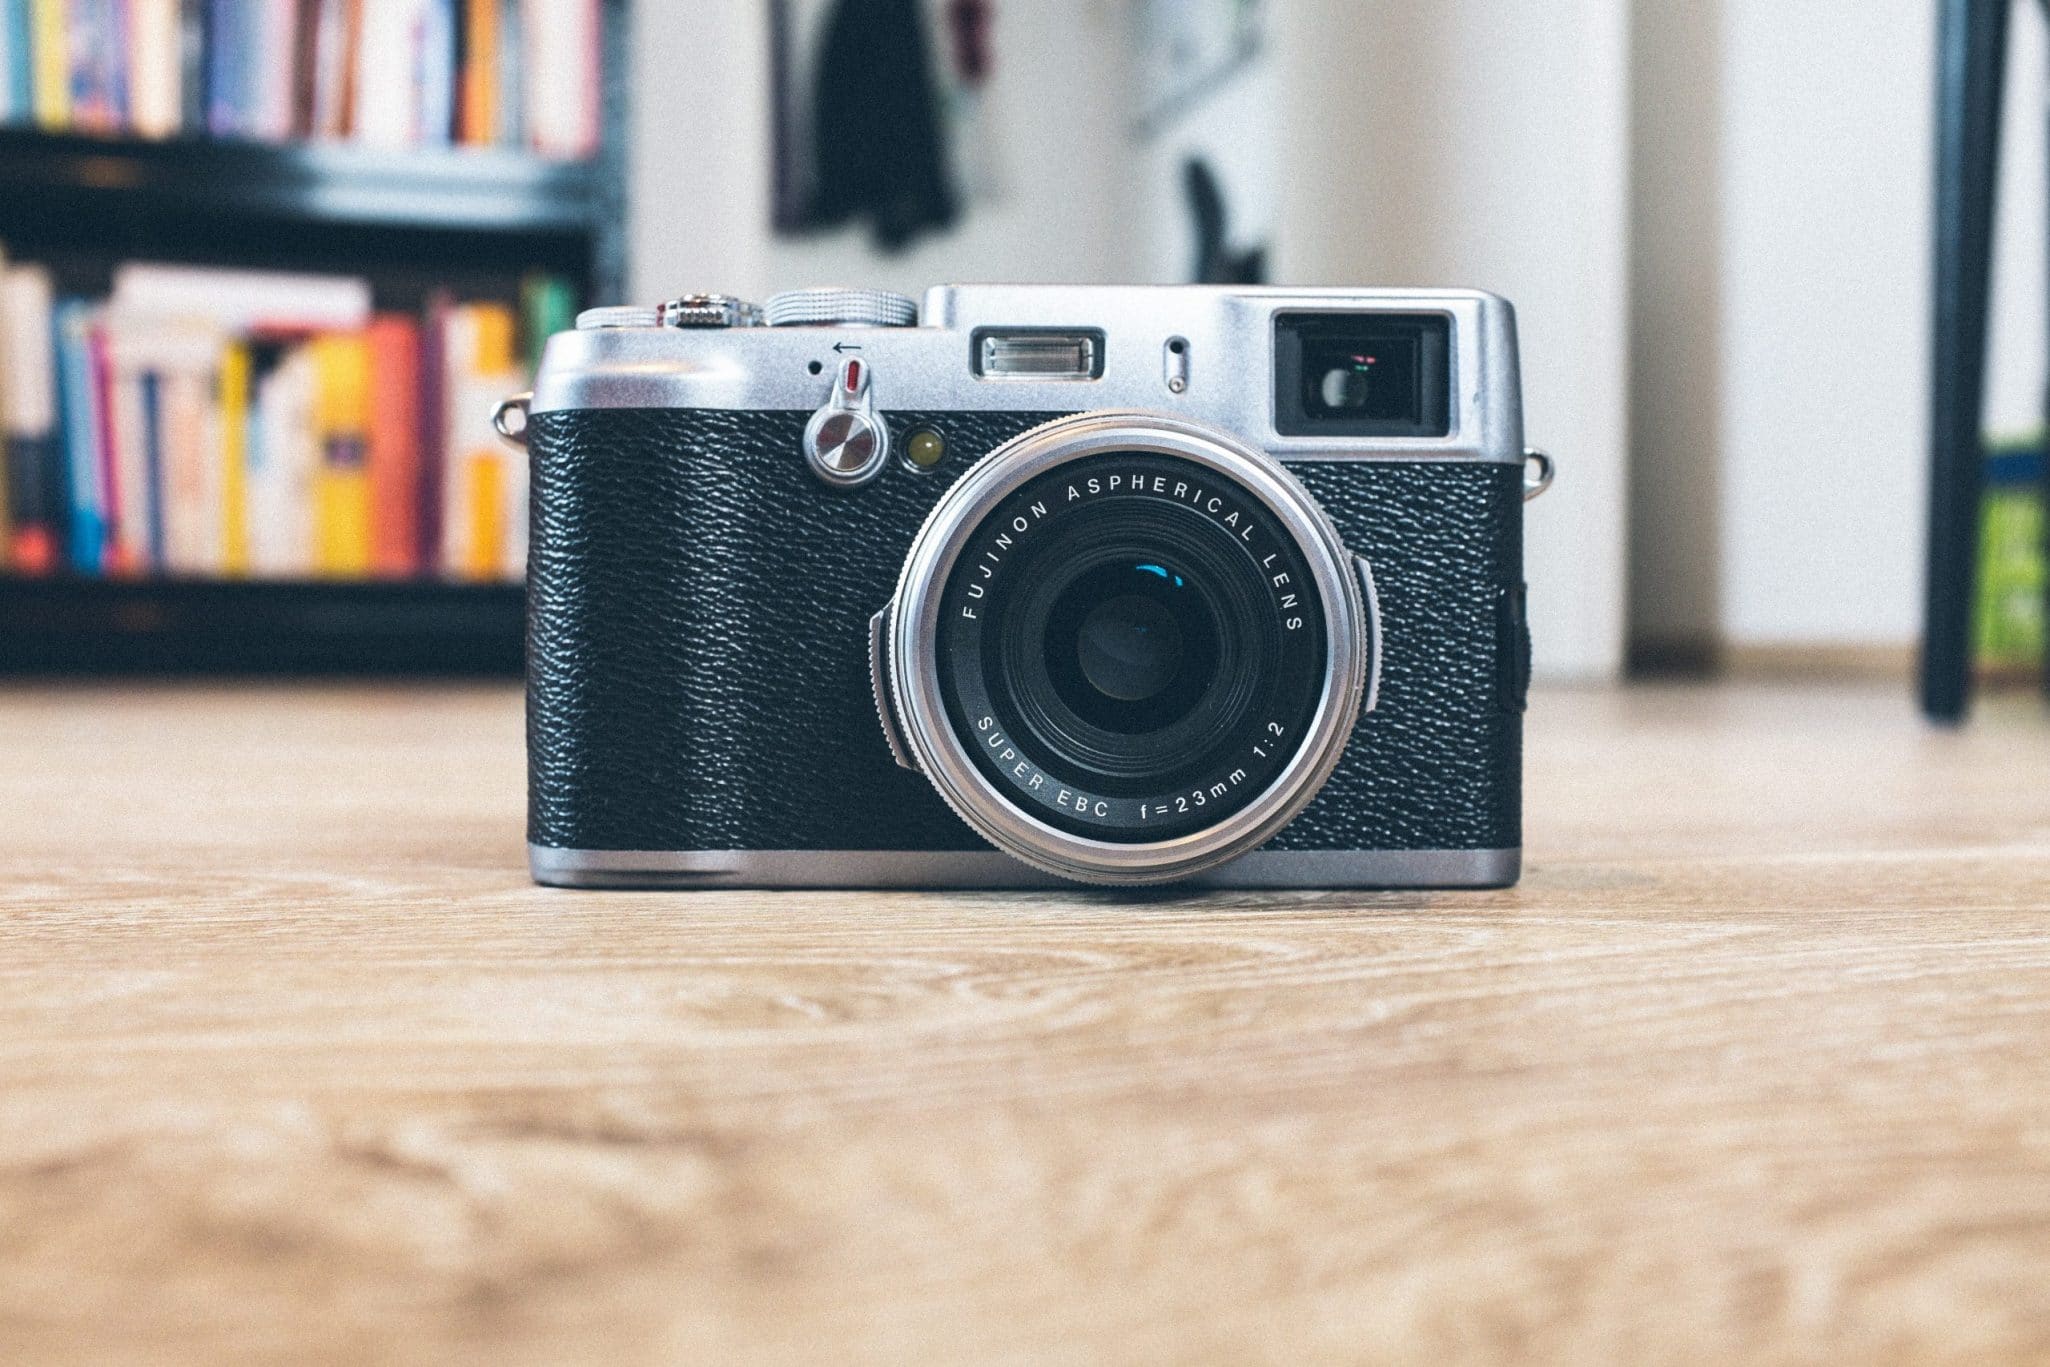
Mirrorless camera
A light, compact camera with fewer lens options and no optical viewfinder (the part of the camera that you look through in order to frame your photo).
DSLR camera
A bigger, heavier camera with more options for lenses and a handy optical viewfinder.
Point & shoot camera
A simple, usually cheaper, lightweight camera with no option to change lenses.
Read next: 25 most stylish camera bags for women
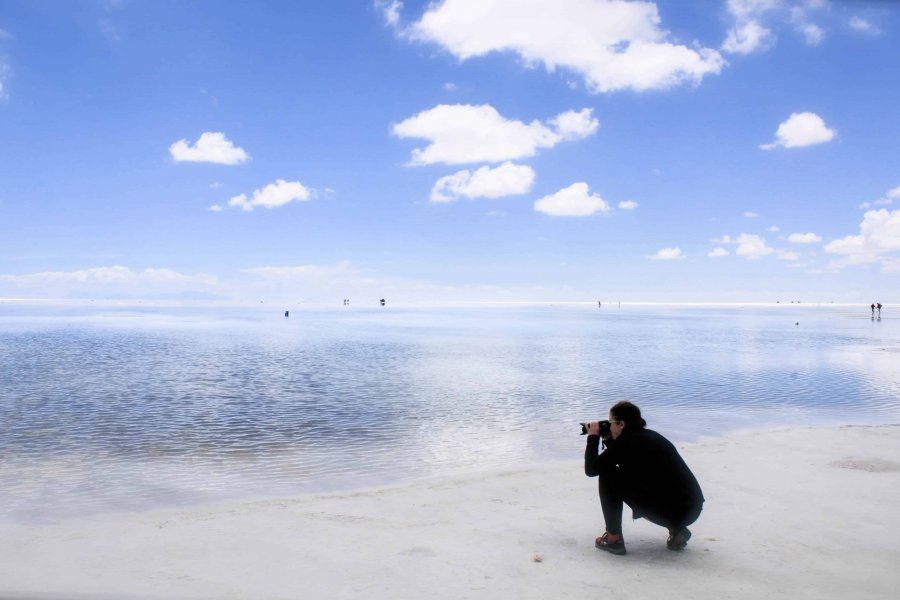
Shoot in the golden hour
Your first tip is one of the great photography basics. It doesn’t require any specific photography techniques to pull off and it’s considered one of the true principles of photography, especially if you’re going for cityscapes or nature photography:
Shoot in the golden hour.
The golden hour is that magical period late in the day, just at the edge of twilight, between daylight and darkness, when the horizon has yet to turn red or orange. The land is a little more pastel coloured, softer in tone, and makes everything the light touches that much more picturesque.
Taking photos during golden hour means that nature does the filtering and editing for you. If you’re going to seriously learn photography, learn to take advantage of the golden hour.

Get a lightweight travel tripod
A lightweight travel tripod is one of the best photography equipments you can have. It’s a must-have for landscape and night photography because it allows you to shoot in low light and play with shutter speed (like capturing moving water and make it look smooth and soft).
A good travel tripod is also great if you’re vlogging, so that you can use the camera hands-free, or if you travel solo and want your picture taken.


Move around
You don’t have to be glued to the ground (even with a tripod). The world is all around you, so explore it and feel the space. Look for the best angles; look for where the light and shadows are at their most useful for your shot. Think about what you want to capture and what angle it should be from, then get to that angle.
This is actually one of the most important travel photography tips I can give – Move around.
The Eiffel Tower photo doesn’t look as good if you’re a few steps to the right of having it perfectly centred.
Or maybe that castle looks really pretty, but if you just move a bit backwards you can also get some flowers or rocks in the foreground of the shot.
I always get myself into some weird locations and positions to take the perfect shot. And if you need to do that – as long as it doesn’t endanger you or your camera – then go for it! Moving around is a photography basic that you should definitely embrace and remember.
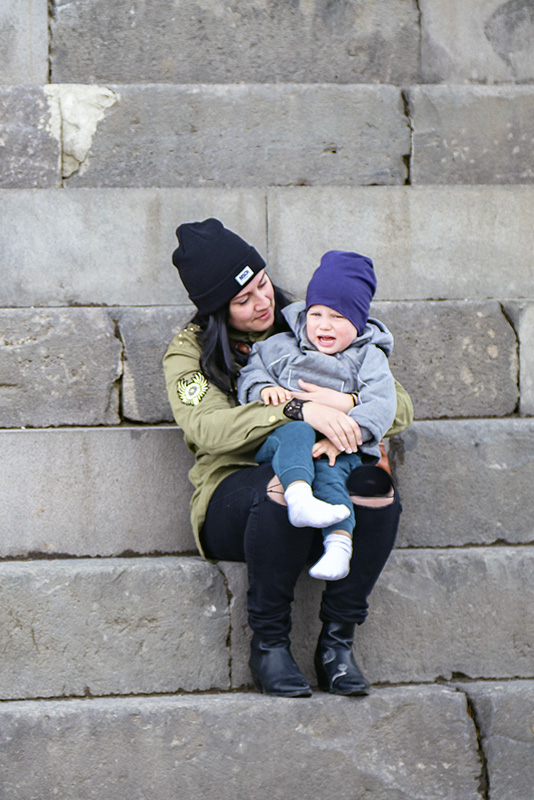
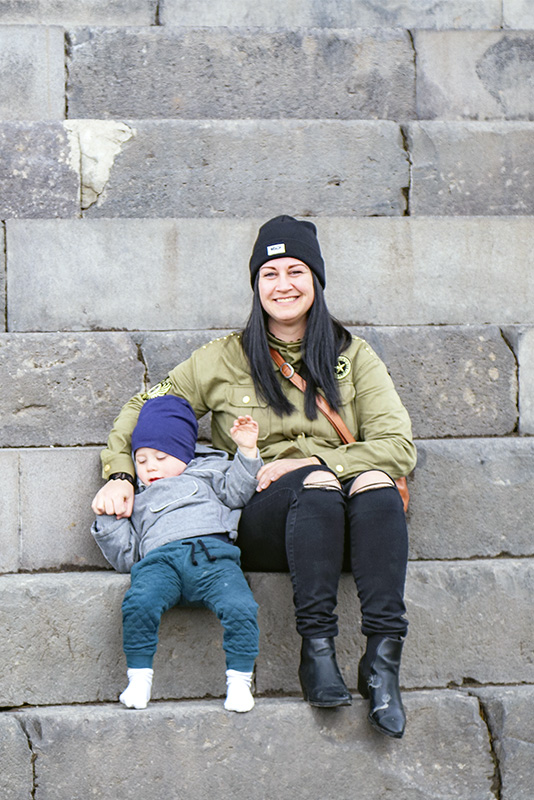
Take several pictures
This tip goes hand-in-hand with the previous one. If you’re moving around a lot, then take a few photos each time. You’ve got the space and the time, so experiment and don’t miss out on a good shot because you think the next one might be better. Take it! Take them both.
Shoot your photos from different angles, zoomed in and zoomed out. And another one of my big photo tips is to always take 3-4 photos of the subject – especially people, whether they’re candid or posing. Because people make so many minor movements and changes. They shut their eyes and their hair moves, so take a few and pick your best.
Case in point, illustrated by my 2-year old ⇓

Experiment with composition
Rule of thirds
This is absolutely one of the fundamental photography basics of shot composition. The rule of thirds essentially means not placing your subject in the centre of your shot. Whether it’s a person, a building, a cat, or a tree, take the photo with the subject offset to one side.
This gives the shot more room to breathe and ensures that there are other things in the shot that complement the subject. Our brains don’t like things centred; we like them asymmetrical. A lot of DSLR cameras today actually come with a feature that adds a grid of nine squares to the screen which help guide your shot and ensure that you’re meeting the rule of threes. The best camera for photography beginners should have this function – it’s great!

Leading lines
Speaking of lines… Use your surroundings to guide your shot to the right place. Roads, whether they’re leading away from you, or crossing in front of you, can help level your shot and show you where the best depth-of-field is. The world is full of leading lines that frame and guide your shot’s focus. Painters use them as well, to guide the viewer’s eye when admiring a painting.
They’re one of the great photography basics and especially important for nature photography and landscape photography.

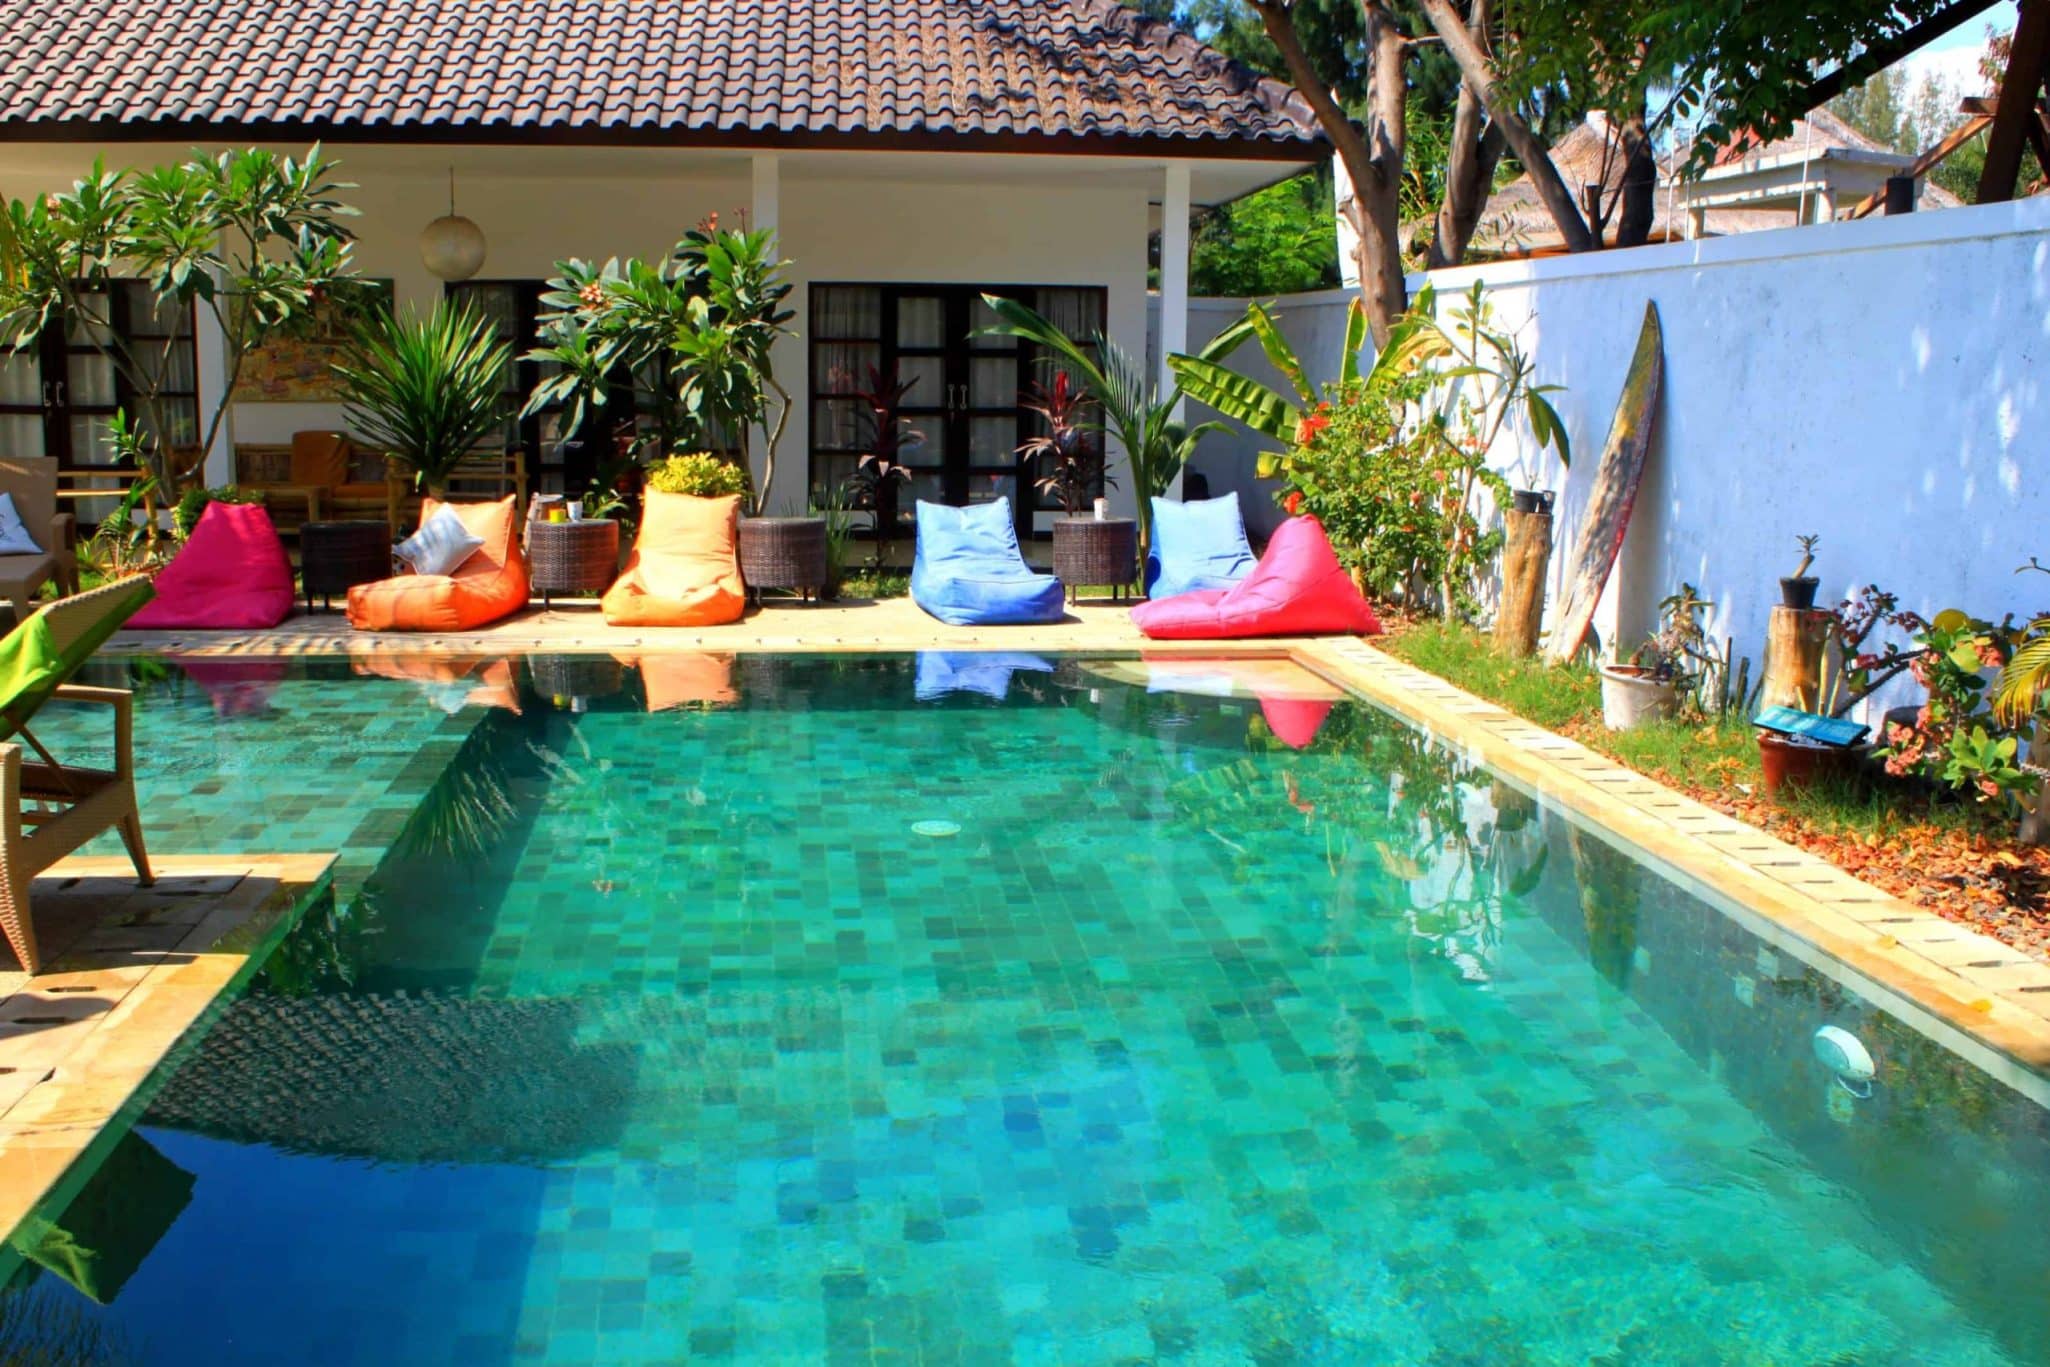
Have a foreground, mid ground and background
Once you’ve mastered the rule of thirds and using leading lines, start to focus on depth. You don’t want your photo to be flat. You want there to be depth to it, with a foreground and a background.
Practice with landscape. Find a building or house, and then find something in front of it. Like rocks, plants or flowers. Move around until you find a good background, like mountains, trees or clouds.
Suddenly you have this gorgeous composition that adds so much flavour and dynamism to your shot. It’s easier to pull off than you’d think!
See what I did here?
- Foreground: little red boat
- Mid ground: hotel building and trees
- Background: Mountains

Frame your subject
This is another one of those great photography tips that’s easy to implement. To learn photography is to learn framing. Framing means using what’s around you to “frame” the subject you’re trying to capture. It can go around all four edges of your image, or it might just creep around one or two edges.
How to do it: When you take a photo, take a few minutes to explore the surroundings. Is there anything you could use as a frame within your composition? For instance, windows, open doorways, arches, and overhanging tree branches.
Simple photo tips like this one can add depth and storytelling into your photos and really draw the viewer in.


Blur the background
Another photography basics is to create depth in your photos.
How to do it: You need a background and a subject in front of it. Then focus your shot on the subject and allow the background to blur; this reinforces the focus and crispness of the subject, whatever it may be (a person, an animal, a book. Or even a geiger counter). You can always blur the background in editing. There’s an easy option for it in Snapseed (more on that below).
Likewise, you can blur your focal point instead, to add an unusual kind of off-balance mystery and intrigue to your photo. It looks really cool. photography basics

Be aware of the sun
This is one of the major and simplest photography tips: Have the sun in your back!
Why? Because when the sun is behind you, your subject is fully lit. And your image won’t get overexposed by shooting straight into the sun. The result is that you get a clear, crisp, clean, evenly lit photo.
As you get better, you can start to break this rule and use the sun to get some great effects from other angles. But you need to ease into that. Start simple, get the sun out of the shot and use it to your benefits.
There’s also the element of timing! I’ve mentioned already that it’s best to photograph in the golden hour (or the blue hour). You’ll get much warmer colours, clearer textures and there will be fewer people in the shot (huge bonus!)! When I travel, I always get up super early and start photographing. I got up at 4 a.m. to capture the mist in these sunrise photos, and it was SO worth it!
My point is that you’ll want to avoid when the sun is sharpest (from around noon to 4 p.m.). Or at least think about where the sun is at in your pictures. And don’t be discouraged if it’s raining or overcast. You’ll be able to get some super cool pictures! If it’s foggy and you can’t see a thing – then you can get depressed.

Look at other people’s vacation photos
Whenever I travel somewhere new, I always find inspiration for composition and great photo spots on Instagram and Google. I simply type in the town or place I’m going to, and then see what comes up.
It’s amazing what you can learn. And if you find a good photographer, don’t be afraid to ask how they did it! People are proud of their photos and their skills, and they will usually be happy to share these skills with you. They may tell you the best camera for a beginner photographer or simply give some practical advice that you can use. Study their photos and see what you can learn.
Edit your photos
This is a must, you guys! You should always edit your photos.
The best editing tools that you can get are:
- Snapseed (for beginners)
- Lightroom (for the little more advanced)
- Photoshop (for pros)
In editing, you can crop the photo, make it brighter, enhance the colours, and much, much more. Think of editing software as a playground where you can explore how to make your photo sharper, clearer, more or less colourful, brighter, softer, calmer, gloomier. Anything is possible.
And, if you mess up, you can always undo it or return to the original photo. Editing is fun and experimental. You can even find your own signature style of editing so that people get to know your photos by the way you edit. Can you guess what mine is? (clue: it has to do with colours).
With this image: I simply straightened it. Then I lowered the shadows and enhanced exposure and a little vibrance. That’s it.


Practice, practice, practice!
Once you’ve learned all of these photography basics, they’re yours to practice with. Take your camera out everywhere you go, and practice! As you line up your shots, remember these tips. Think about the sun’s location, get some depth, consider the rule of thirds, move around and bring a tripod.
Do everything you need to do to get that perfect shot, and just keep on practicing. It has taken me years to get to where I am today. It takes time, but you’ll get there. Just keep on practicing.
Read next: The best camera for travel photography
Are you a beginner photographer? Do you find it difficult? Let me know in the comments.
Save for later

Interesting as usual, hugs
Thanks so much <3
Love this piece! Thank you 🙂
So glad to hear that, Grace! Thanks for reading 🙂
This is a valuable article, thanks. I still make all the photos for my blog with my potato phone *lol*.
I think it is time for an upgrade.
Question: How many and which kinds of the mentioned equipment do you usually carry during your trips? When I go hiking I always try to reduce the amount of items to carry to an absolute minimum. A big camera is maybe a little too cumbersome for most trips?
Štrbské Pleso is a very worthwhile object for photo shots btw.
Thanks! And Štrbské Pleso – well spotted! 🙂
To answer your question, it depends. I always bring my wide lens and everyday lens, no matter where I travel. And yes, a it is cumbersome, especially if you’re hiking. A mirrorless camera would be a good alternative to a DSLR.